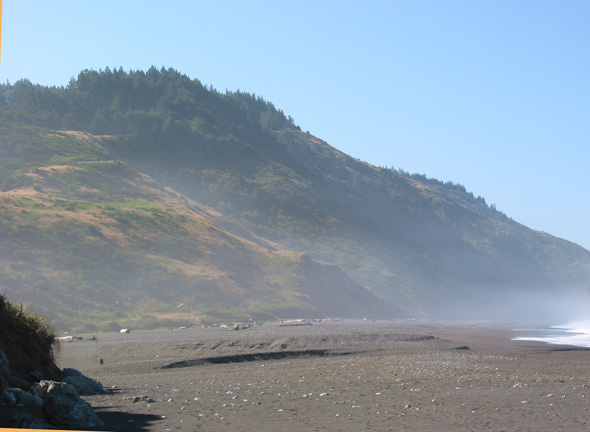
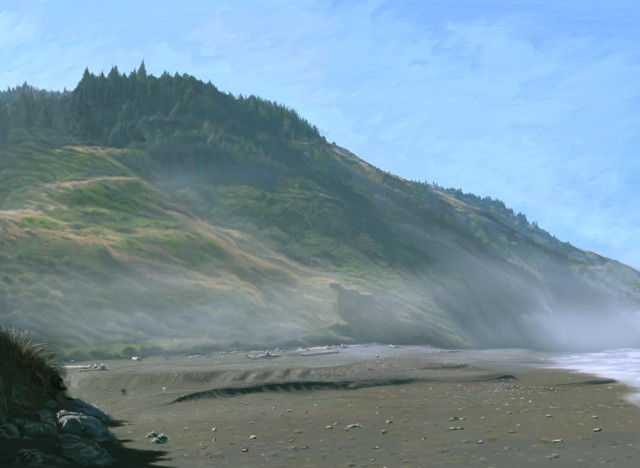
Finally I get to post some personal work! I took advantage of being unemployed to do some personal work, and try to learn something in the process. I have wanted to use Corel’s Painter for a while. I bought it a while ago and it just sat there… My first project was to paint a landscape. I was inspired to use a photo I took while camping on the beach in Mendocino, 7 years ago. What a great place it is.
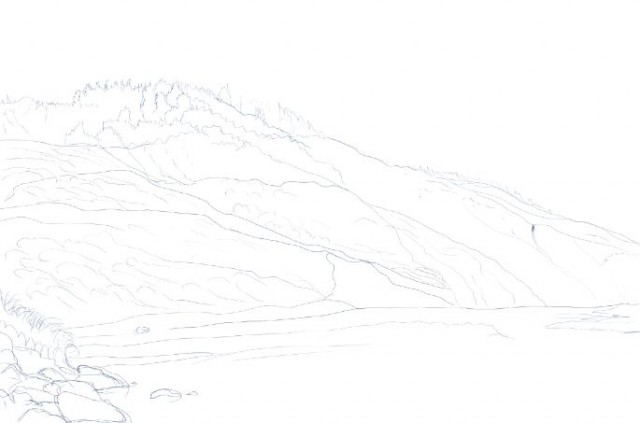
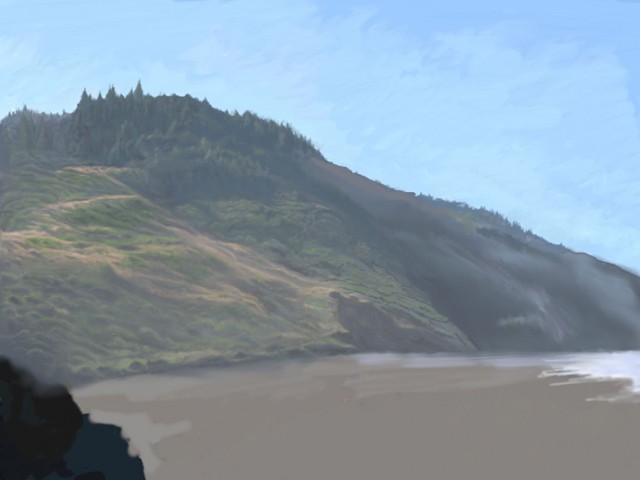
Right away, my familiarity with Photoshop cost me a crucial mistake, which, unfortunately, I didn’t catch until it was too late and I had to live with it. Not a big deal… The bottom Canvas layer cannot be arranged or duplicated. It stays there… So I put my photo in that canvas layer for reference, but it would have been better as a top layer to hide as needed. I created a line sketch with the #2 pencil tool for blocking out reference, and proceeded to play with brushes to get a feel for them and block out the first layer of color. Throughout the process, I learned that brushes from the oil tool set didn’t play well with watercolor, of even acrylics… I thought that the brush feel was the only thing that mattered, but actually, even the stroke behaves like the medium it is supposed to be… So I couldn’t blend oil and acrylics strokes together, for instance.
To paint, I built a palette of colors that I would sample from. I would then hide my paint layer, observe the source photo, then go back to my paint layer and work from memory. This was my way of pretending I was there, outdoors, with my easel, painting on a canvas. With the added advantage of being able to use the overlap in layers to make accurate placement, resulting in a more faithful reproduction.
I struggled with brush settings and eventually settled on thick wet camel brushes and a glazing round brush. I would lay in a base color that averaged the relevant area’s color, then a shadow color with the wet camel brush, and then would go over with a blender or a glazing brush when my strokes were too scratchy… Finally, I would do a highlight pass, again, smoothing with blender for broad lit areas and touching up with a sharp, fine camel brush for tight highlights. The process was tedious, but I had achieved a textural feel I liked and so I stuck with it. This workflow was very time consuming overall, and if knew better, I would have tried another approach. But that’s what learning is for… Next time, if I use a photo as a reference again, I will also extend the framing more to my liking. Finishing this piece seemed daunting enough at the time, so I didn’t want to make it any larger!
I painted different scene elements into different layers, from background to foreground. I wanted the piece to have a painterly feel, so I didn’t go in tight and tried to keep some stroke texture, like in the sky and shrubbery. Often, I would zoom out to see whether the feel of lighting was preserved when I painted, and then would go back to 100-150% zoom to paint in. Once the landscape was laid in, I painted some loose strokes which I then blurred and adjusted layer transparency to create the ocean mist. Finally, I took the file into Photoshop and adjusted a few curves to bring in some cyan, and was happy to bring this to a closure. You can view the full resolution piece here.


